If you recall, our RSVP cards had this sassy little meal icons created by BF K:

We dubbed the vegetarian icon, "Stoned Broccoli". / Personal Photo
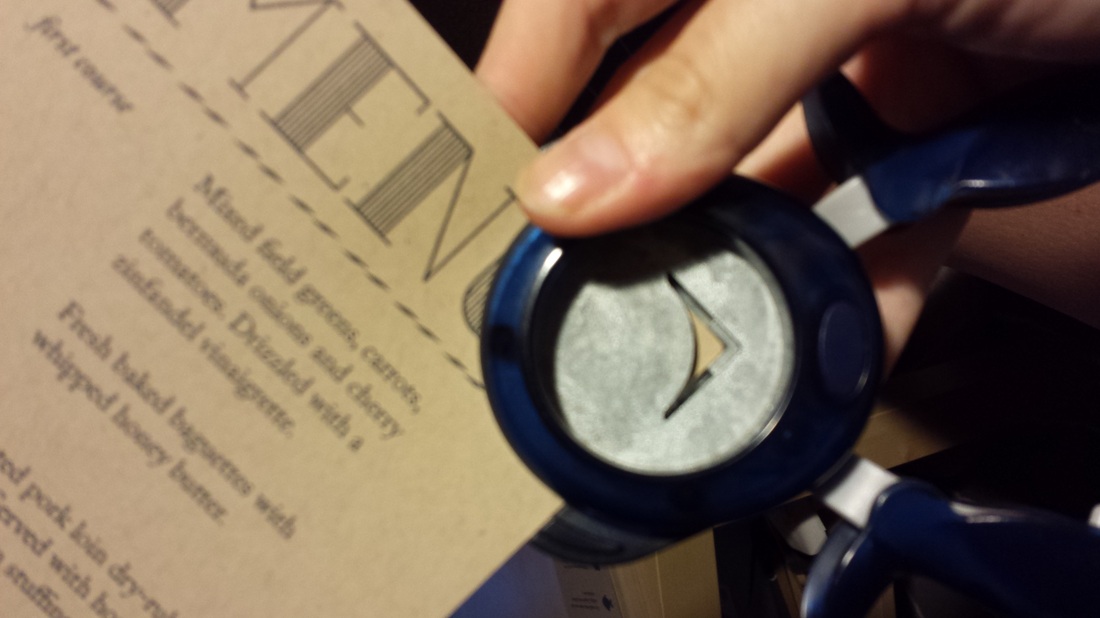
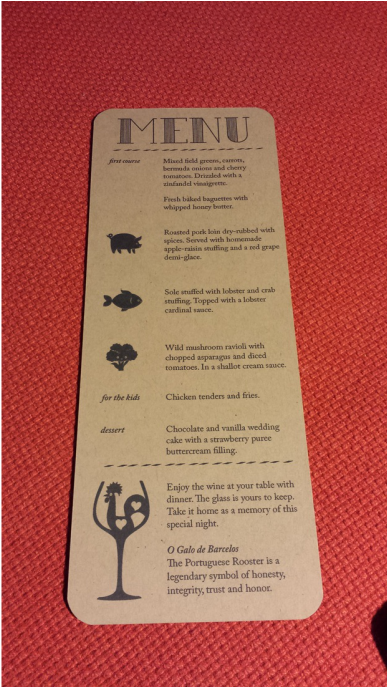
In order to better inform our guests of their meal choice upon arrival at the reception, I wanted to do individual menus at each place setting.
Damn me and my brilliant ideas!
I just spent the better part of an hour hand corner-rounding 140 of these things:
I'm nothing if not a glutton for punishment. The hive can relate, no? / Personal Photo
MOH J came to the rescue yet again with another fabulous design to tie all of our paper elements together. I printed two menus per 8.5" x 11" sheet of Paper Bag cover stock and split them right down the middle, finishing them off with a nice rounded corner! Before putting the menu together, I was also brainstorming with MOH J about our etched wine glass favors. I wanted to make sure our guests knew that they were for the taking without having to slap them in the face with it. Since we had some space at the bottom of the menu, MOH J did a cute little graphic representing the wine glass telling our guests that the glasses were gifts for them to keep to commemorate the evening. She even dropped in the meaning behind the Portuguese rooster as well! Talk about EFFICIENCY! Do you plan on having menus at your reception? Will they perform double duty like ours?
Let me just start by saying I love a good New England accent. Like a really good, Mark Wahlberg/Ben Affleck New England accent. Not a God-awful Julianne-Moore-in-30-Rock accent.
This freakin' kills me: Since I was a Communications/Journalism major in college - I've managed to regionally alienate my dialect, but catch me talking to my sister, or get me really mad and/or drunk and I sweah ta God, it just comes outta me, and theah's no stoppin' it.
Seriously, tangent over.
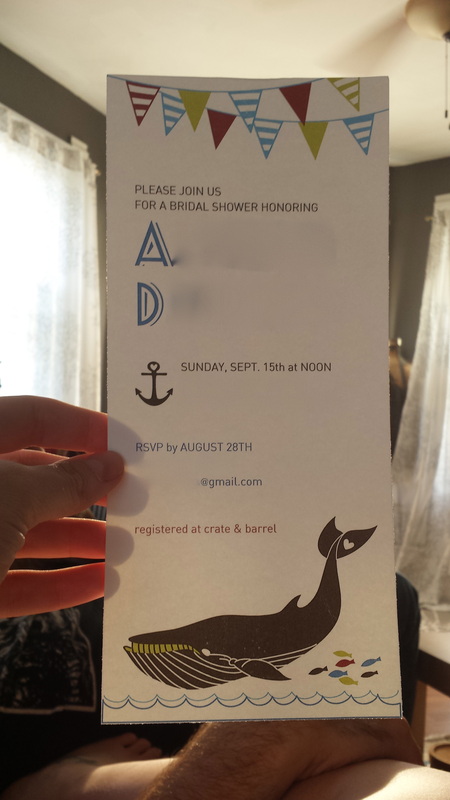
Guess what I got in the mail today?! An invitation to my bridal shower, courtesy of MOH J!! Since we're from the "Whaling City" and I have a love of all things nautical, she decided to give my shower a nautical theme! Isn't that little school of fish totes precious?!
I am so excited for this event and for all the girls in my life to meet and enjoy a nice afternoon together!
Have you already had your shower? Were you "wicked" excited, like me?
That lovely quote came courtesy of Daddy Jet.
But wait!
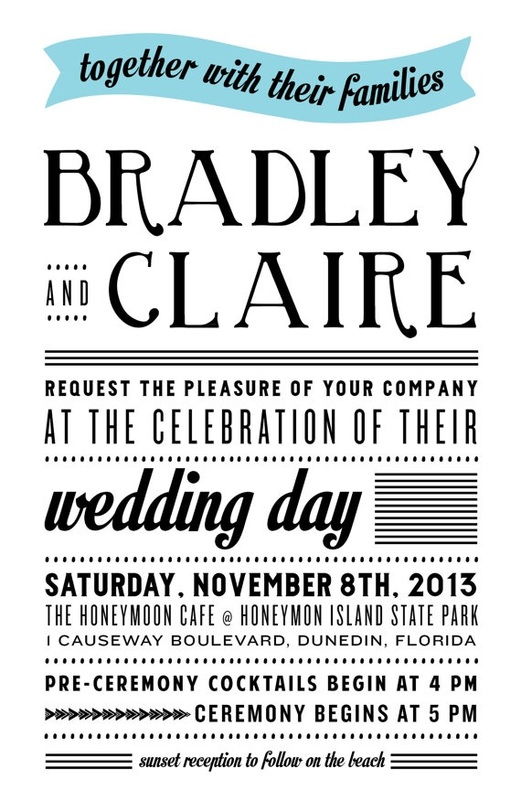
You know what that means, right? Invites are rolling out and RSVPs are rolling in - I can finally reveal my invites to the world!!
As I have previously mentioned (a lot), MOH J and Bestie K designed and screen-printed my invitations. My role in this whole shebang?
Cut. Print. Stuff. Tie. Stamp. Send.
Needless to say, they were truly a labor of love birthed by all three of us. To say we were all relieved once they hit the mailbox is a CRAZY understatement!
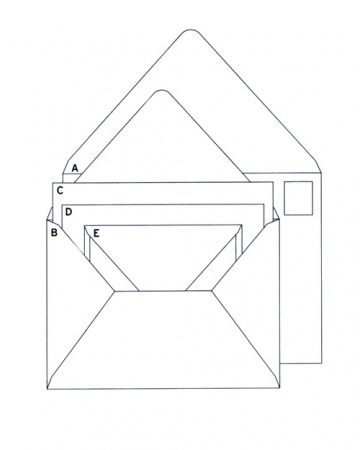
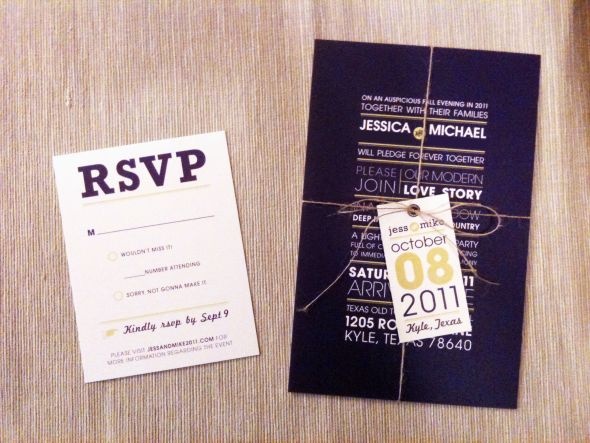
Without further ado, here are my beauties: (all photos personal, personal info. blurred - sorry!)
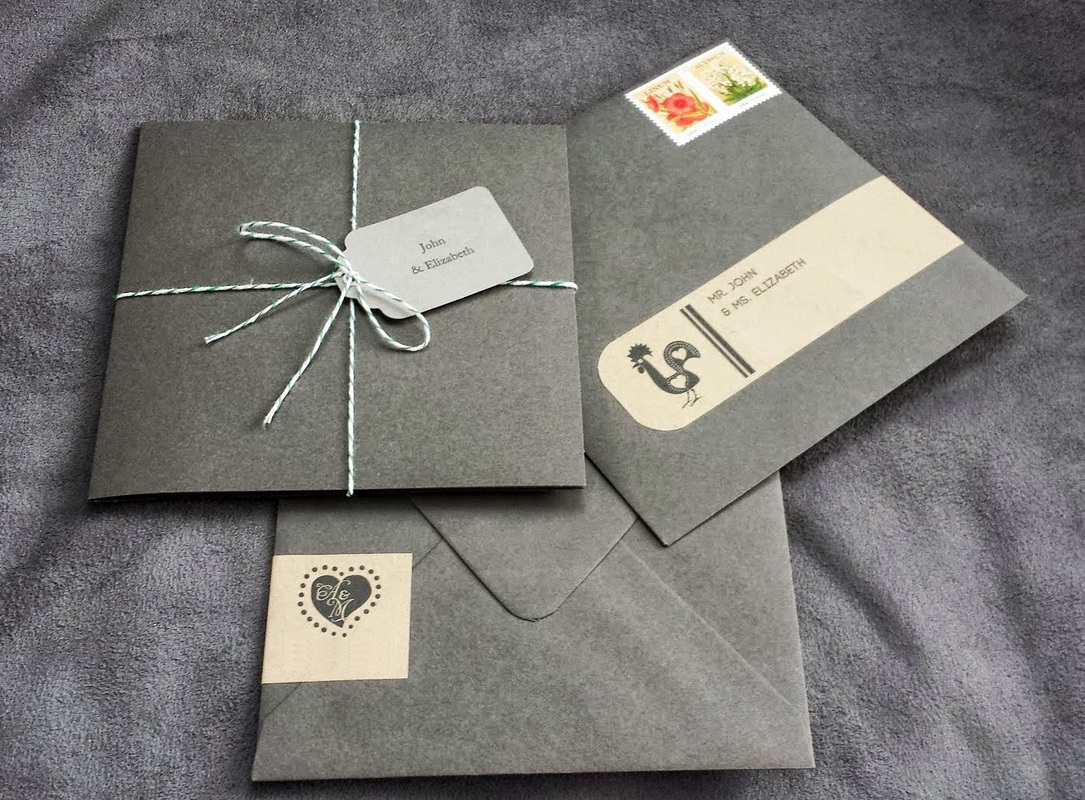
TOP LEFT: the full folio as removed from the outer envelope., TOP RIGHT: the front of the outer envelope., BOTTOM: the wrapped return address on the back of the outer envelope.

LEFT: screen-printed invitation., RIGHT: three-tiered information/RSVP cards., BOTTOM RIGHT: hand-cut first-name tags set with white eyelets and tied with green and white twine.
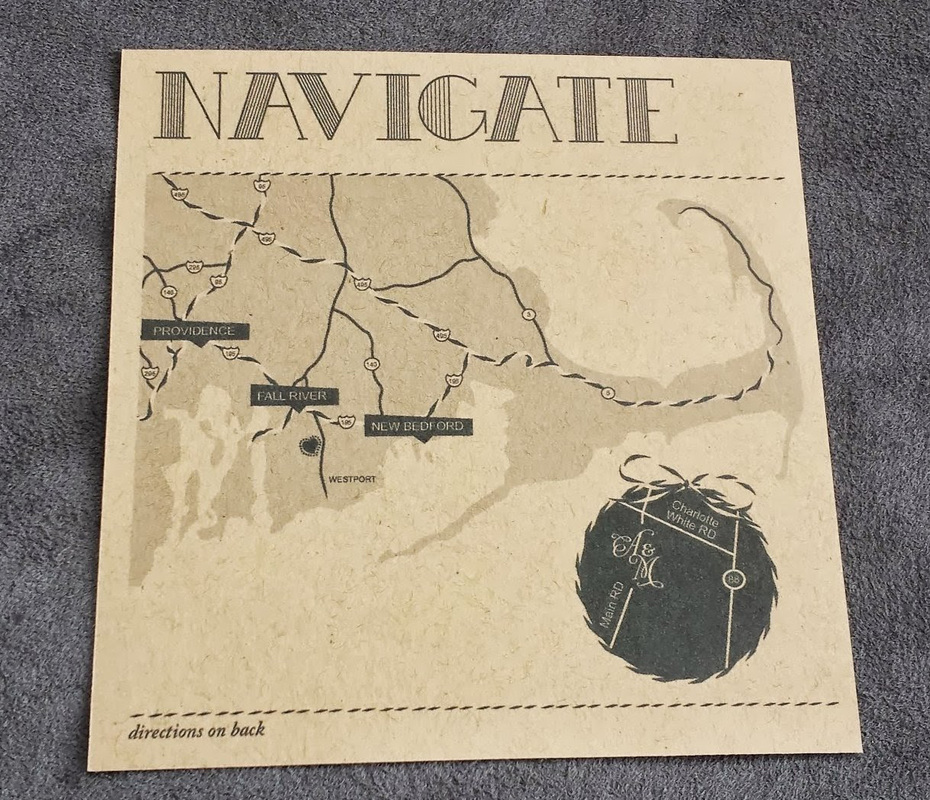
NAVIGATE card: a custom map with twine-inspired highways, major city checkpoints and breakout of our venue's neighborhood.
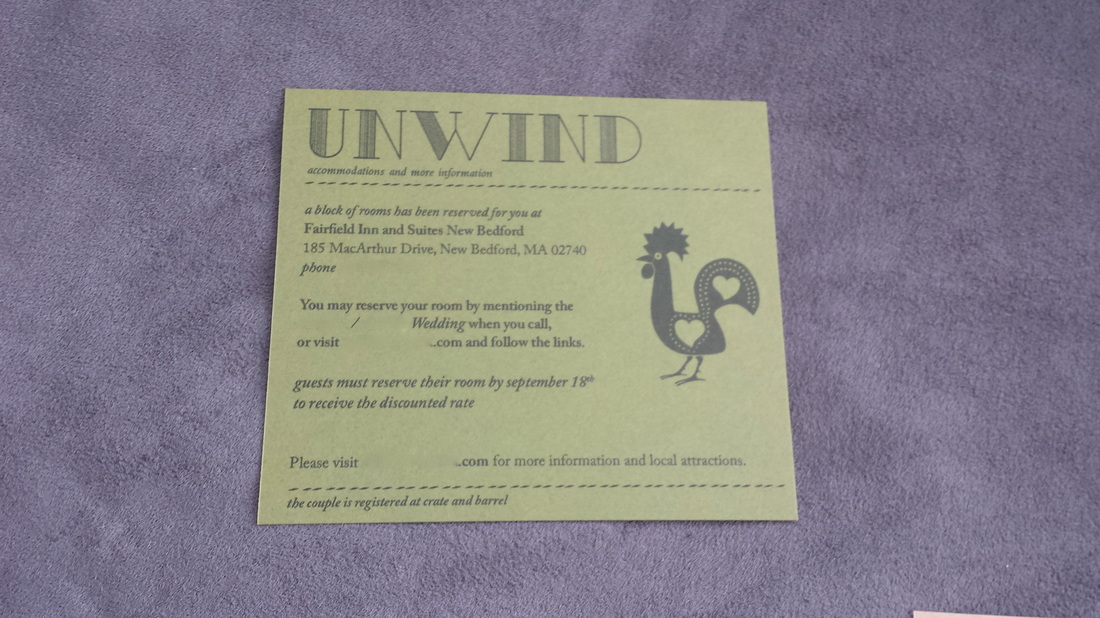
UNWIND card: offers accommodations, wedding website and registry information for guests.
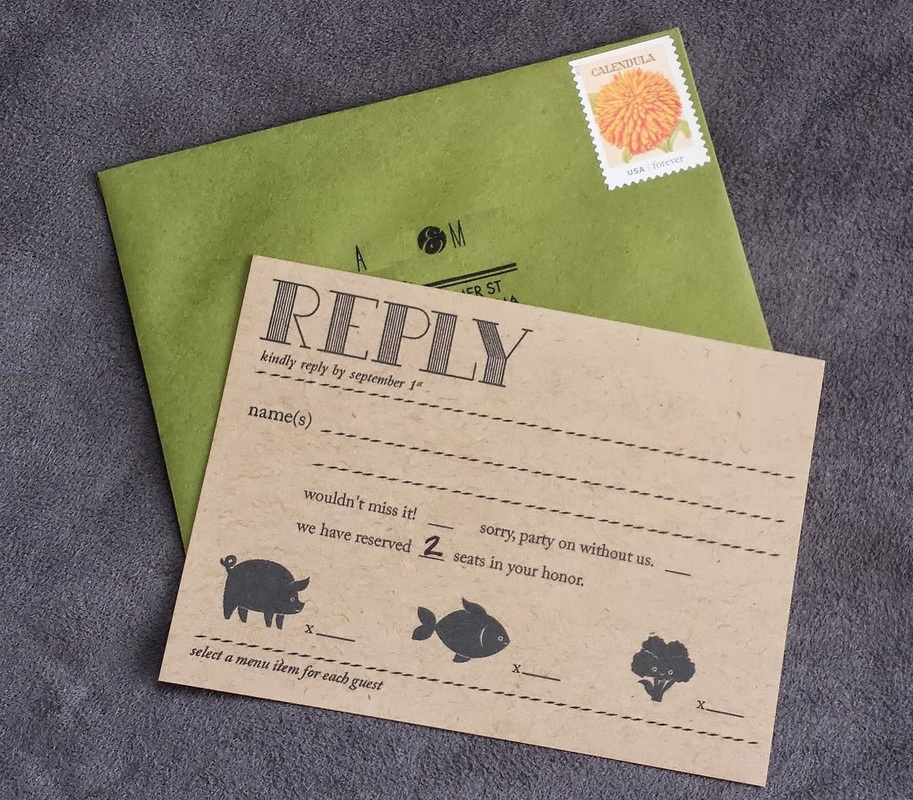
REPLY card: custom meal icons and pre-stamped moss envelope to finish the color accent.
Hive, these ladies are absolute ROCKSTARS! My invitations are everything I wanted them to be and MORE, I have a lot of groveling to do (love you MOH J and Bestie K!!!!). For now, I'll just show them off a little:
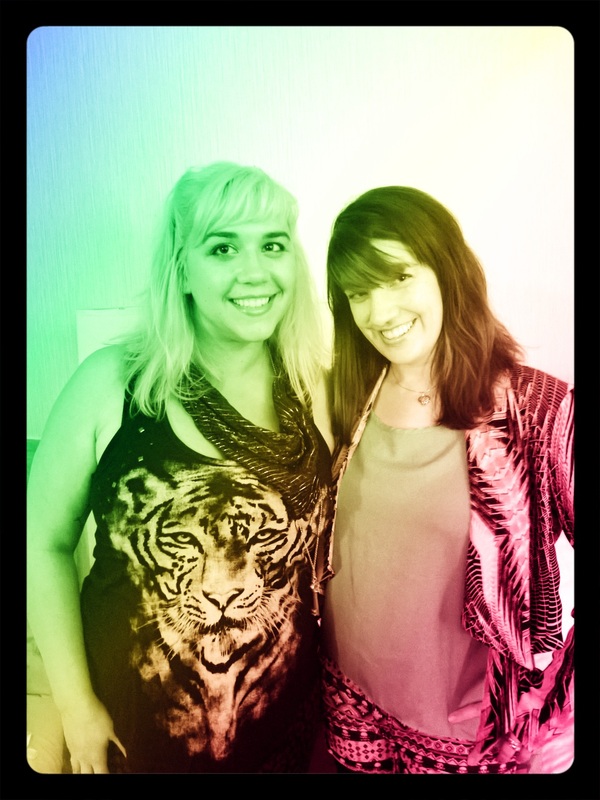
Bestie K and MOH J on their way to a Kansas concert. Yes, "Carry On, My Wayward Son"-style.
If you liked my invites and want to consult with these lovely gals or learn more about their design style, go ahead and email [email protected].
Okay, I know once you attach the word "wedding" to anything, tons of little zeros tend to get tacked onto the end of the already inflated price, but WHYYYYYYYYY-oh-why are people profiting off of custom-made postage?
Yes, I get it. I love a paper suite with design continuity as much as the next wedding-obsessed bride, but I absolutely cannot justify being charged over a 100% increase on a stamp from places like Zazzle or PhotoStamp.
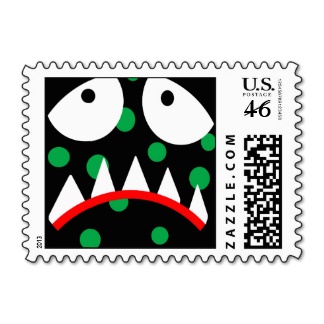
This phenomenon makes me sad and angry...like this zazzle monster. / Image via Zazzle Someone could tell me, "well, people throw out their invitations eventually anyway - so why even send those at all?" To them I say, "good point - but paper invitations have to be sent out at least to friends and family without computer know-how and some people (::raises hand::) actually do save invitations! so...suck it." I hopped over to the USPS website to see what my invite options were to find the best fit for our suite. There were TONS of cute options! Here were some of my contenders: (all images below via USPS.)
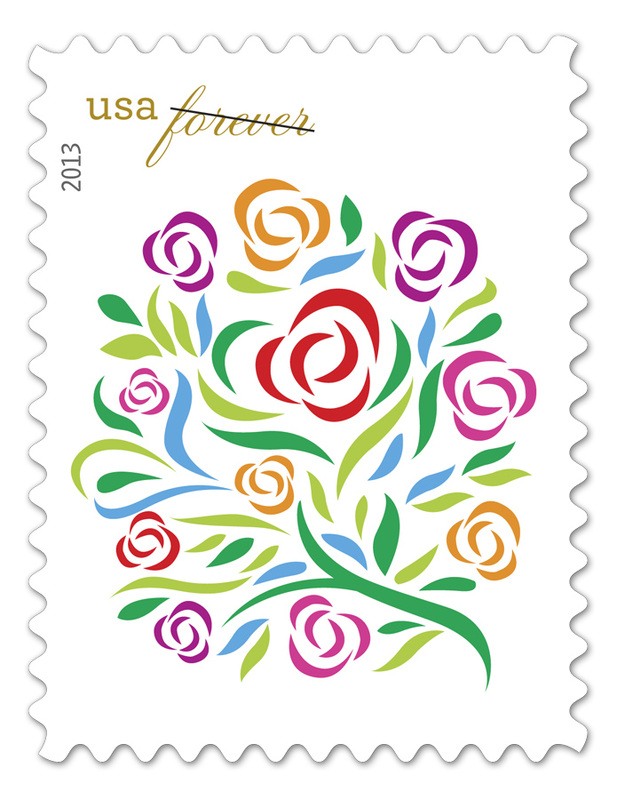
Colorful, abstract floral
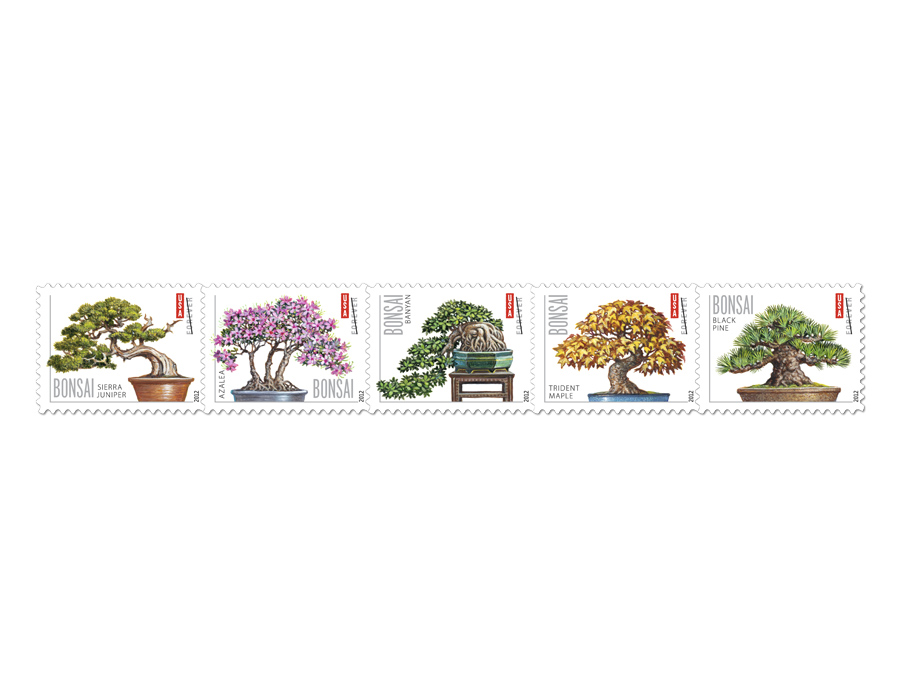
Funky bonsai
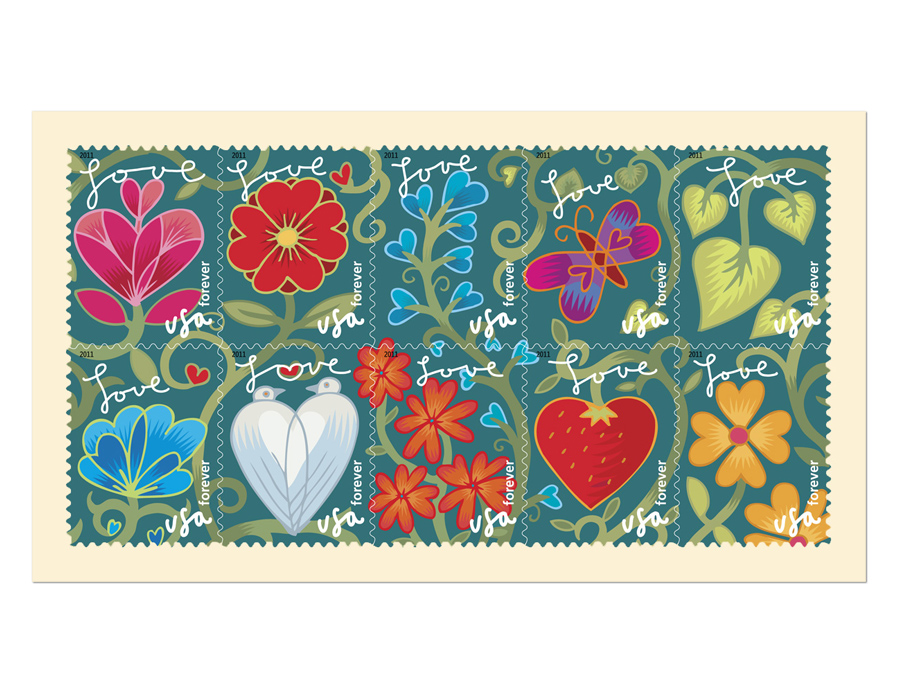
This year's "love" stamp
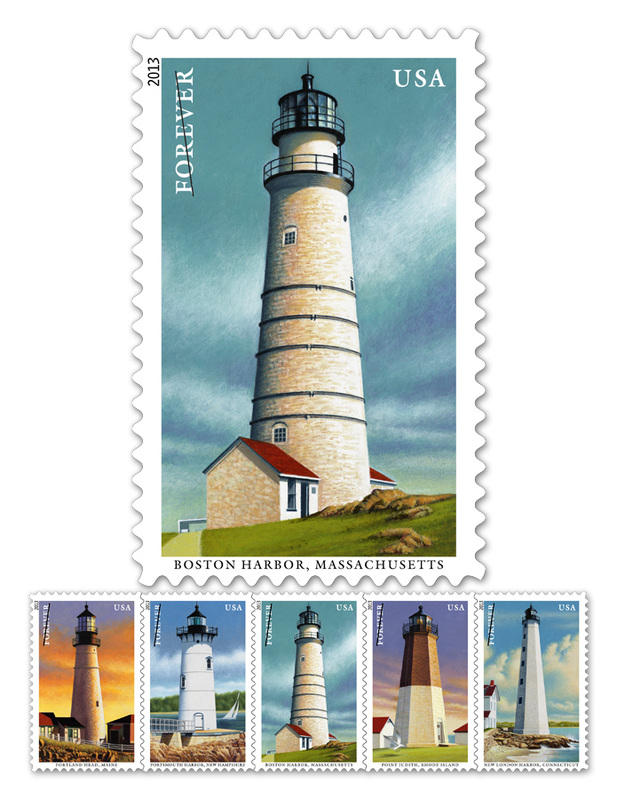
New England lighthouse series - (for my New England girls!!)
And finally, the winner...
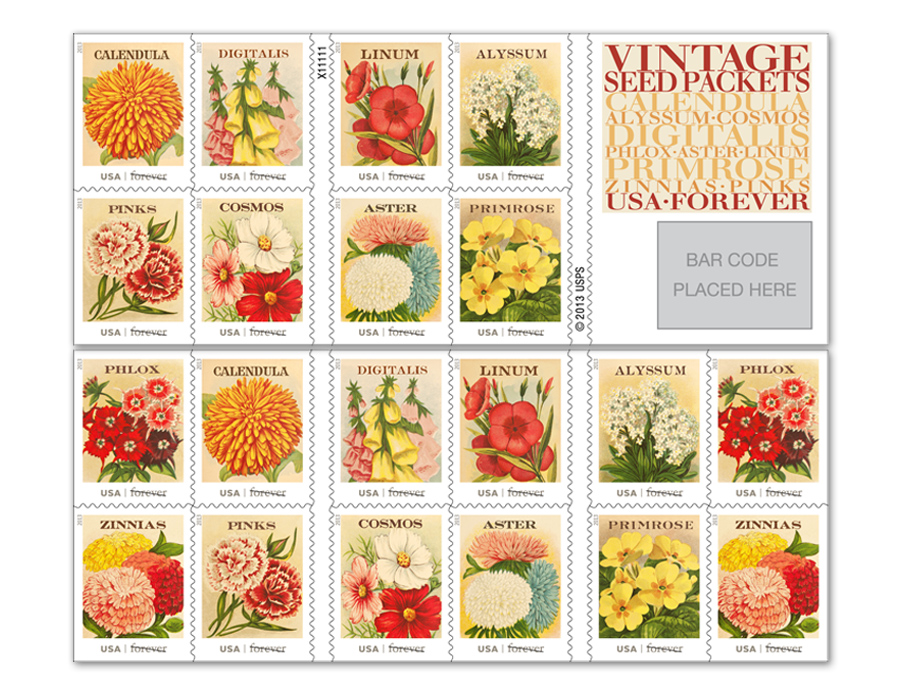
Vintage seed packets - GORGEOUS colors
My point being, don't discount USPS for a great-looking stamp option! We're not just limited to a waving flag anymore, you guys! Before you spend tons of extra cash on that custom stamp, check out the USPS first - you never know what they'll offer....
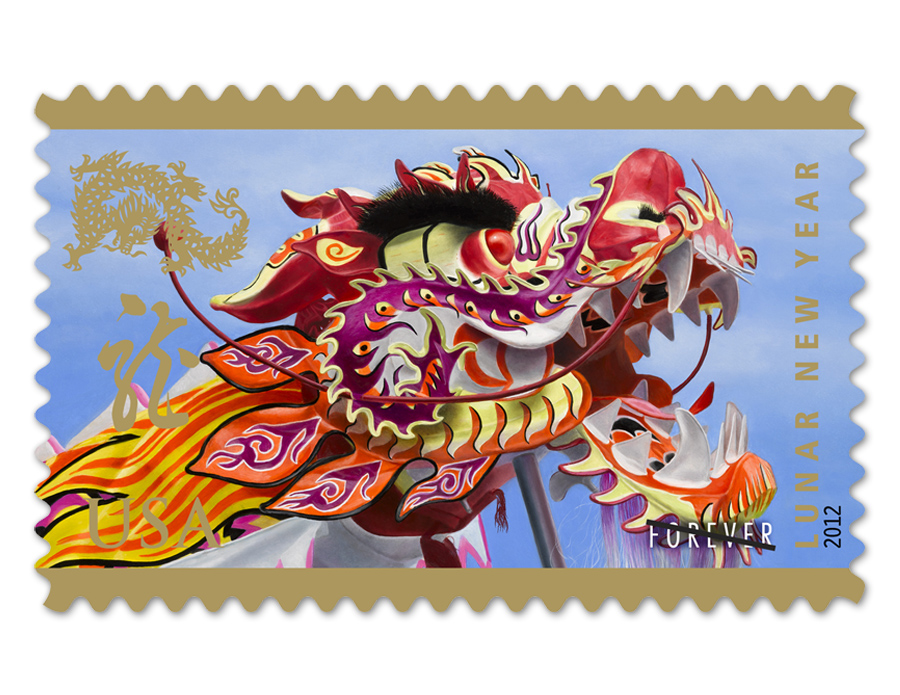
How cool are these "year of the dragon" stamps?!
Up to this point, I'd say working on my invitations has been the most time-consuming task I've encountered. As I've previously mentioned, my sister (MOH J) and her West-Coast bestie, K, are designing my invites and sending the finished files to me for final print, trim and execution. Working together has been really fun for the three of us (I've gotten to talk more to these girls in the past two weeks than I have in the past several months!), but it's also challenging given the fact that I'm here... MOH J is here... And bestie K is here... 3 girls working 3 very different schedules in 3 very spread apart states in 2 time zones has not been easy, but we've been able to make it work! Google Hangout - you are the butter to my bread!
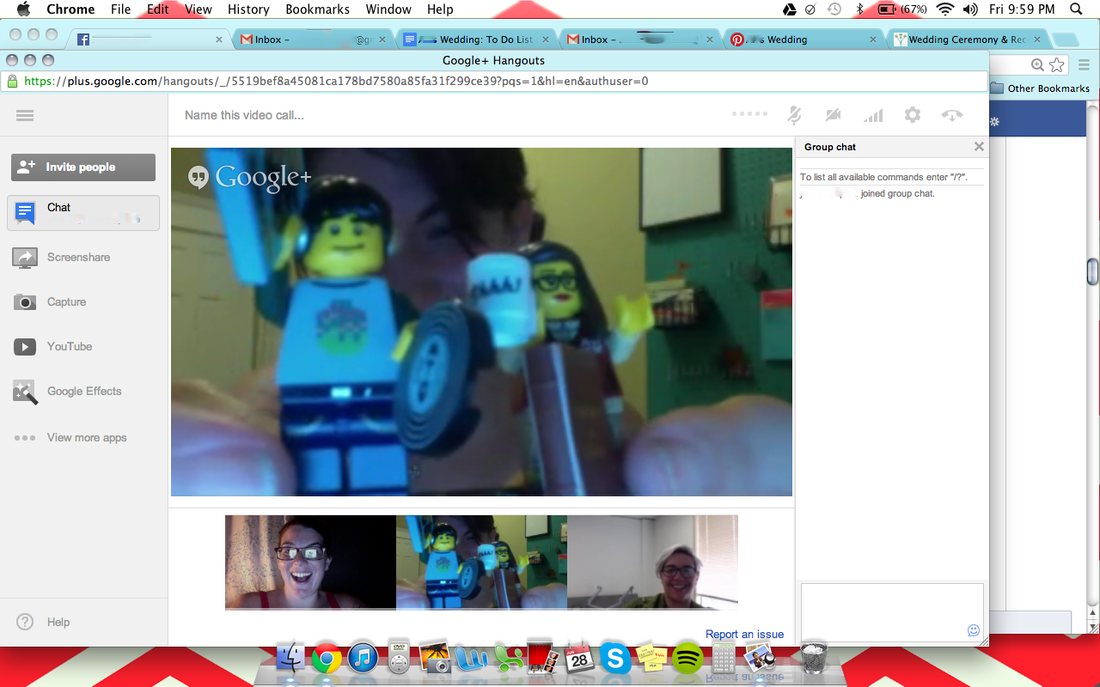
Personal photo
Okay, we did actually get work done when we weren't playing with Legos - I swear.
We've been able to stay on time and on task with Google Hangouts (Google's answer to Skype), our shared Google Calendar and the good ol' USPS!
We're ALMOST there and I'll be sending them out soon, complete with a full reveal for the hive - but for now, I'll give you a sneak peak of our outer envelopes. This one's for you, White House....
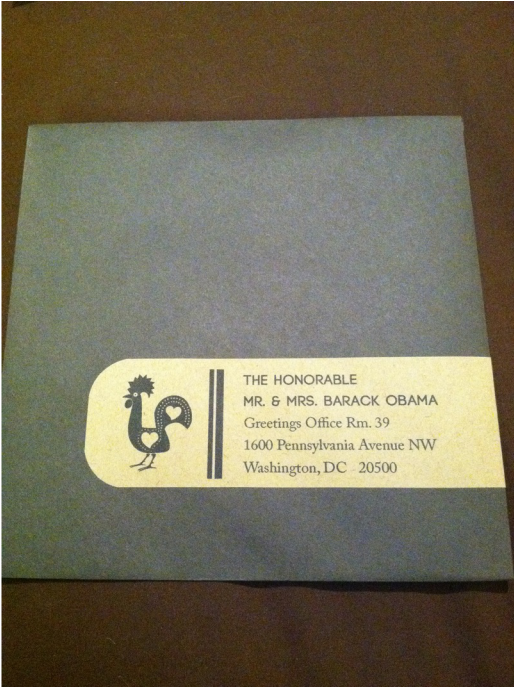
There's that Portuguese rooster, making an appearance! / Personal photo
A few people have inquired about the envelope liners I added to my Save the Dates, so I figured I'd dive in with my first DIY tutorial! Envelope liners certainly add a lot of character and flair to an otherwise Plain Jane envelope, but boy can they be tricky if not done correctly! In my case, I sent out 92 Save the Dates which means cutting around 100 envelope liners. I deemed this project totally worth it, as my kraft-colored envelopes were seriously lacking in the style department. First, I had to figure out what kind of paper I wanted to use. While thicker, richer paper would give the STDs a truly luxe look, the idea of adding weight (and therefore postage) to the piece did not appeal to me. In addition, I avoided thicker paper to be able to eliminate the step of scoring the paper - my bone folder and I don't always get along. I also ixnay-ed metallic paper, as it may crack at the seam and look messy once opened. Once I was able to gather my criteria, I decided that wrapping paper would be the perfect paper. It was cheap, available in endless colors and patterns, and readily available at almost every store. (TIP: Try to get a paper that has the cutting grid on the back of the paper, it will help you to line up the template and count out your liners a lot easier. This also helps if you are using a geometric pattern that you need to cut at a perfect right angle!) 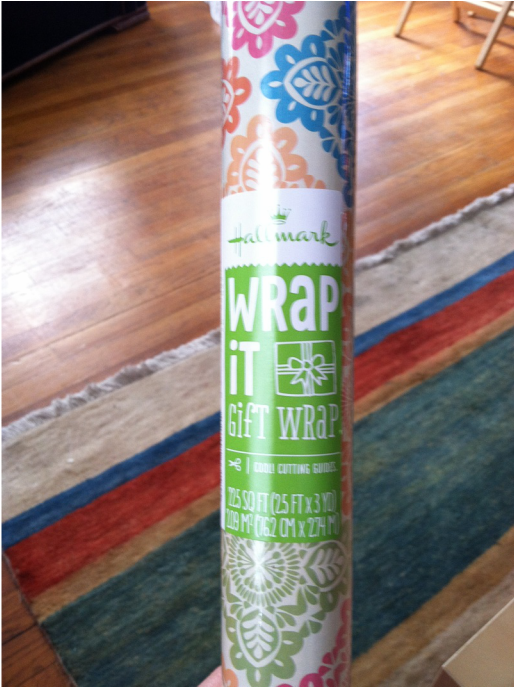 This 22.5 sf roll gave me at least 100 liners to fit an A2 sized envelope. / Personal photo Next, I pulled out my trusty A2 Paper Source envelope liner template. (TIP: If you don't have one of these, or are using an odd-sized envelope, you can easily make your own template with a thick/durable piece of paper/plastic/cardstock. Just measure the height and width of your closed envelope, then lift the flap and trace the shape of the flap onto the template material and add in the measurement you just took. Don't forget to leave room for the envelope's adhesive strip!) 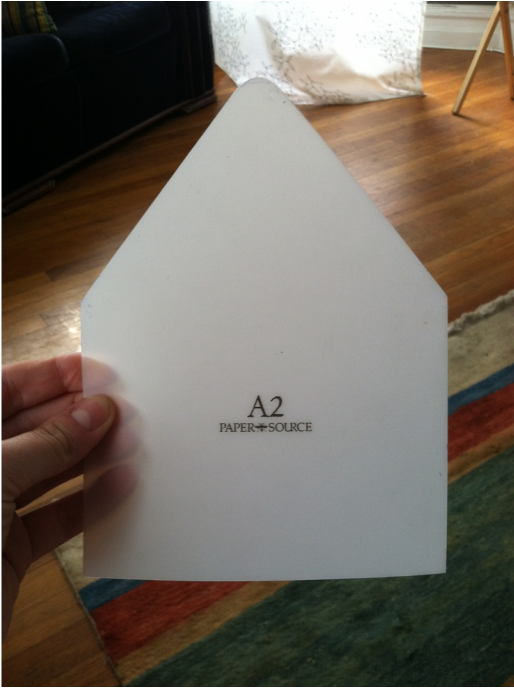 These templates are a good investment, as they are endlessly reusable! They come in a large pack with all of Paper Sources envelope sizes. / Personal photo In order to save some paper, I marked off the template about 1/2" below the visible opening of the envelope, and decided to cut each liner so that it would sit just under the visible portion, not go all the way down to the end of the envelope. If you're making your own template, you can do this too. 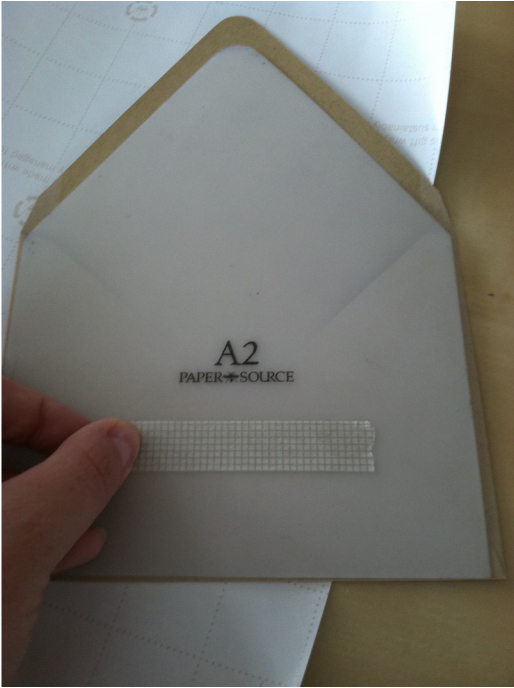 I used washi tape to mark off where I wanted the bottom of the liner to hit. Since you can kind of see through the template, I was able to eyeball about a 1/2" below the visible portion of the envelope. / Personal photo Next, I rolled out my wrapping paper and started cutting my liners using the grid lines and my template. 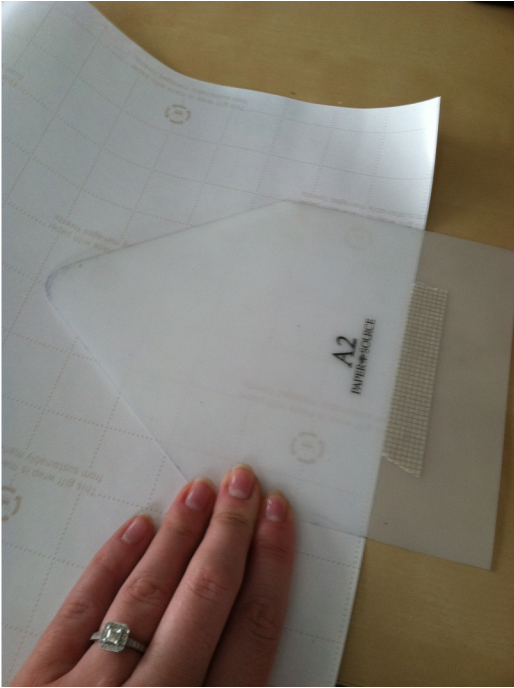 I traced around the template and was able to fit over 100 liners onto one roll of wrapping paper. / Personal photo Once all the liners were cut, I started dropping them into the envelopes. I lined the template up right under the adhesive strip of the envelope, then using the flap of the envelope, carefully folded it over to make a hard crease. 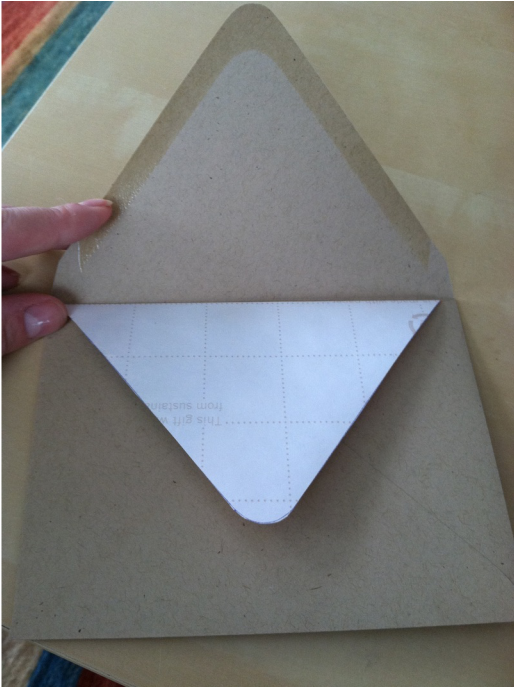 At this point in the STD construction process, my b'maids officially learned I was totally crazy. / Personal photo Finally, I used Scotch Permanent Double-Sided Roller Adhesive to adhere the top of the flap to the envelope. (TIP: To save some labor and tape, I only adhered the top half of the liner and left the bottom half free. I would avoid this if you have something that could possibly "catch" when your recipient opens the invite.)
At this point, you can stuff your envelopes and send them on their merry way. Don't expect the phone calls to pour in to congratulate you on your amazing envelope liners (unless you're inviting a member of the hive!), but do expect to stage a photo of an excited "guest" opening their invitation/STD!! 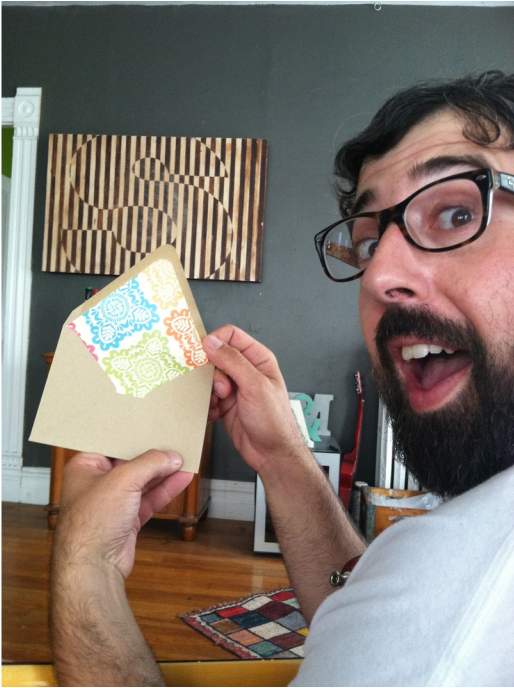 Mr. Jet is SO impressed by this little touch of whimsy!!
I absolutely adore paper suites. I'm one of those people who truly feels pain upon getting rid of an invitation after an event has passed. (I'm pretty sure I still have a paper Save the Date up on my bulletin board from a wedding we went to in 2008....)
I really love all of the thought and work that goes into a paper suite - the paper quality, a great letterpress, the calligraphy, the envelope liner (as you already know!), heck...I even love a good stamp! I'm sure the hive is totally picking up what I'm putting down. While I do realize that most people won't even give my invitations a second look, I still want them to be amazing. Scratch that, I NEED them to be amazing! Having an equally as type-A sister with a background in graphic design and typography does not help my cause.
Since MOH J currently lives in Atlanta, we have to do all of our work via Skype, e-mail and GChat - thank God for this stuff, am I right?!
She asked me to put together a Pinterest board of all of the paper stuff I like so she could get ideas on what to design for me. We're still in the copywriting/design stage now (I'm not planning on sending out the invitations for another month or so) but I thought I'd share some of my inspiration with the hive and maybe get some valuable input while I'm at it!
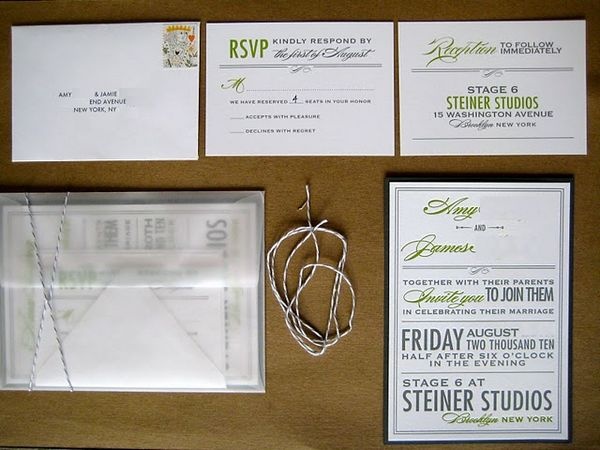
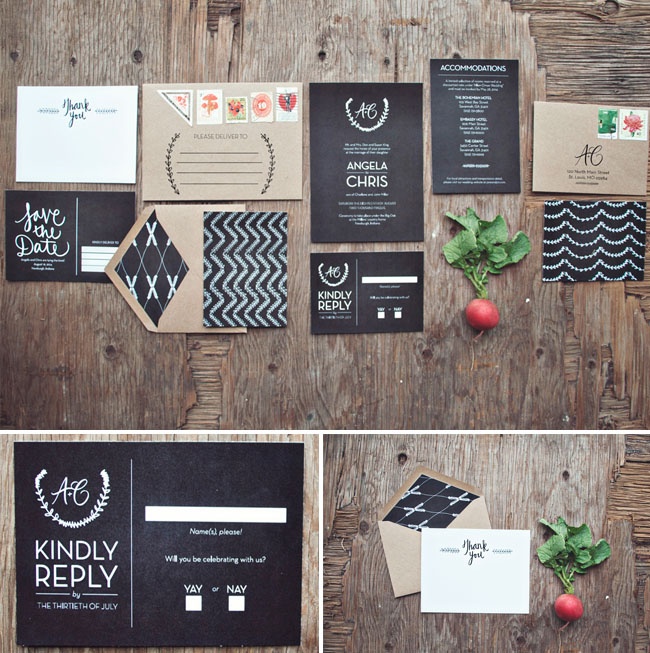
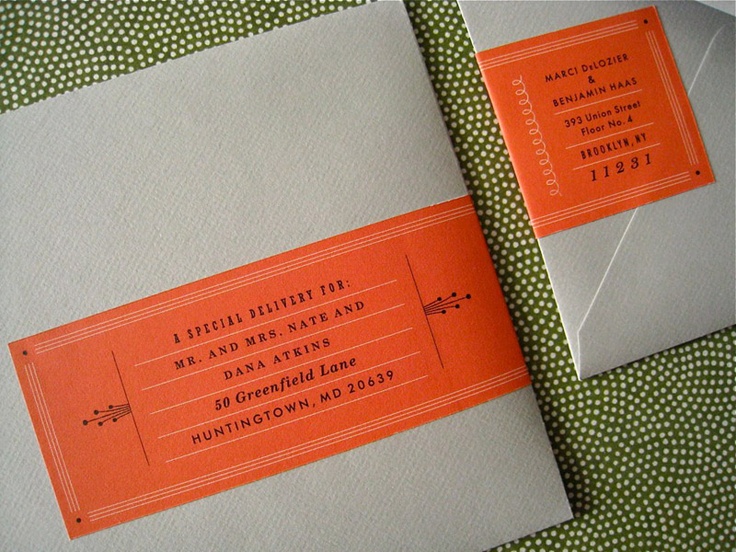
For my fellow paper suite lovers, you're welcome.... 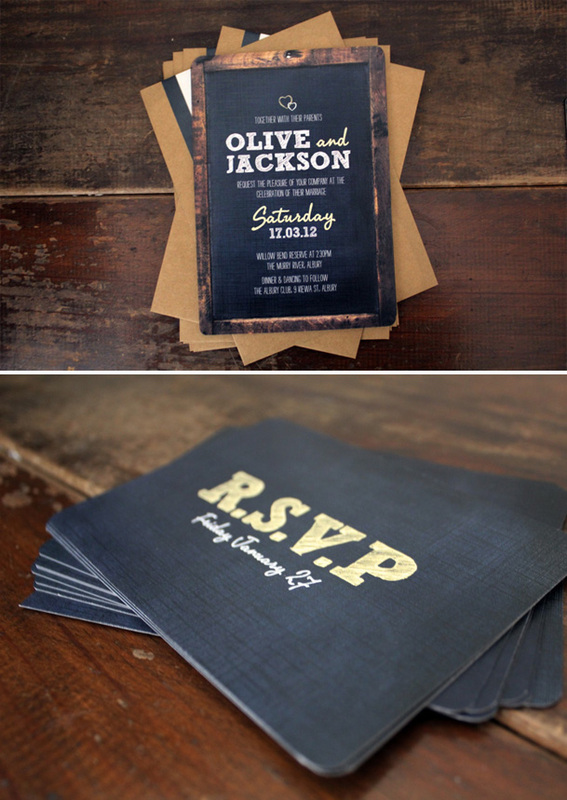 Love the light-on-dark print and those rounded corners! / Image via Daisy & Jack Anyone else swoon over a fab invitation???
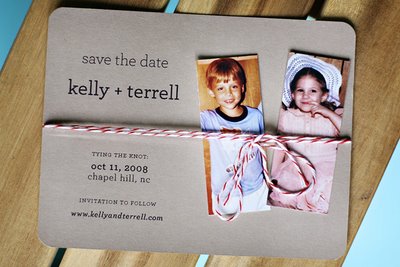
I'll admit, I found this Save the Date back in 2009 on one of Miss Gloss' posts! It had everything I liked - baker's twine! baby photos! kraft stock! rounded corners!
I tucked this post away until after P-Day (proposal day) and showed Mr. Jet my idea that-I-totally-just-found! He liked it, so I sent him to his parents' house to find a good baby photo and I did the same.
I wanted to DIY my Save the Dates since it was a manageable project that wouldn't cost a lot of money, and being the obsessive person I am, I could bring them to fruition in just the way I wanted.
I am very, very, very, very lucky that my sister (MOH J) is a professional graphic designer and she's agreed to help with all of my paper needs! HUZZAH! Let's all praise her for just a second....
I showed her this idea and she offered up a little twist. She mentioned that the Mini-Moo cards are pretty expensive for something like this so how about we use a little program called Printstagram instead? She took our baby photos and gave them a little makeover and had them printed in the traditional Instagram 4x4 pattern so that each Printstagram print had two photos of me and two photos of Mr. Jet with a little white border around each that I could trim around. This way, we'd get 4 pictures per print and ended up saving a bunch of money this way!
MOH J laid out all the text for me and sent me the file to print on my home printer. (Note: if you aren't as blessed as I, Paper Source has downloadable templates for all of their stock paper sizes!) I used the A2 cards and matching envelopes from Paper Source in Paper Bag. Once I had all the cardstock printed, I rounded the corners using my Fiskar's corner rounder, then affixed the photos with rolling double-sided tape. I cut my baker's twine to size and ended up with this: (All photos below are personal) 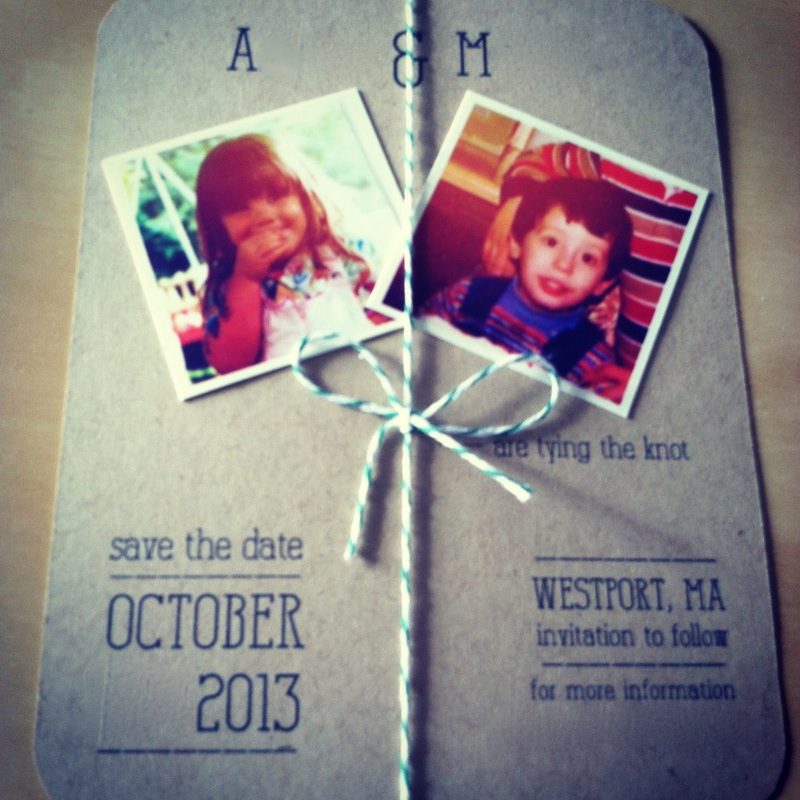 Sorry for the blurred info. - but how CUTE is tiny Mr. Jet?! Once I figured out the best process for making one, I called in Bridesmaids C & E and MOH K for an assembly line! I promised pizza and wine to entice them....
Here is the craftsplosion before we started: 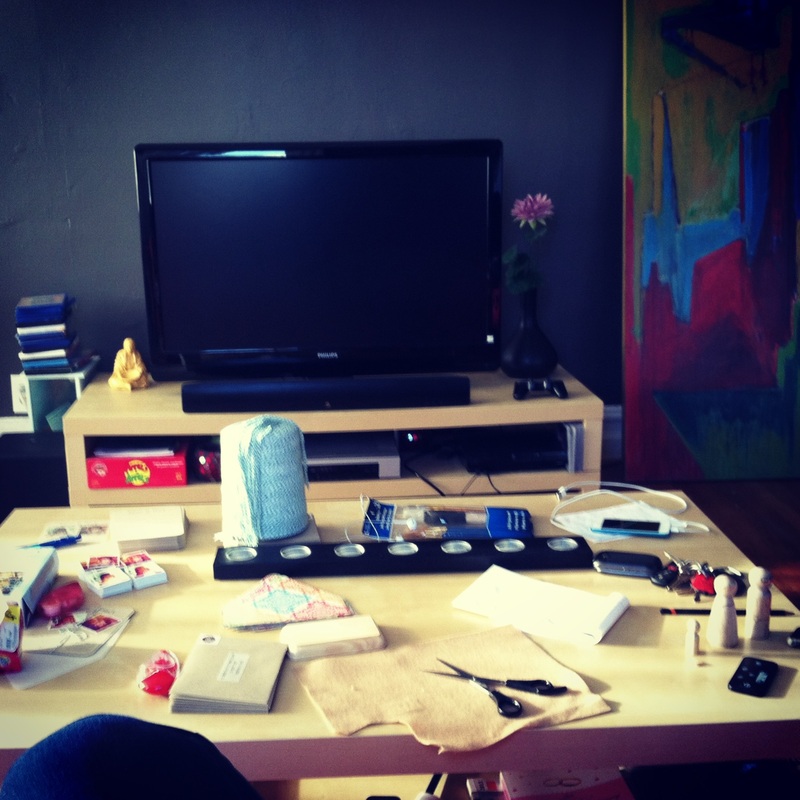 Check out that GIANT spool of twine! Scored that puppy for $10 online! Being the organized bride that I am, I set up stations for each girl and we got these things banged out over a few hours and several glasses of wine.
Bridesmaid C stamped envelopes, Bridesmaid E affixed all the baby photos and MOH K tied the twine knots. (If you ever meet her, ask her how much she enjoyed her task!)
I had the task of cutting and inserting the envelope liners. NO ONE LIKES A NAKED ENVELOPE! More accurately, no one cares about a naked envelope except me - but I'm a glutton for punishment. ;)
I looked high and very, very low for the perfect paper and knew early that I wanted it to be wrapping paper. It was cheap, easy to cut and wouldn't be too hard to fold or add too much bulk to the letter. After visiting close to a dozen stores, I found the perfect, colorful insert at my local Paper Store. I used the A2 Envelope Liner Template from Paper Source and ended up with this: 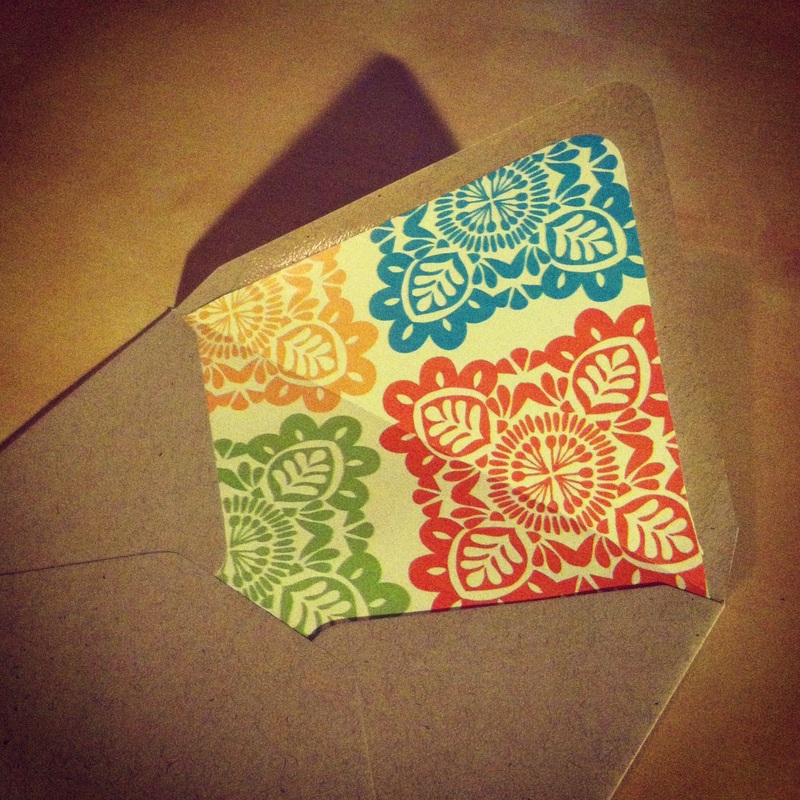 this paper matched all of the tones of the std PERFECTLY. score! I addressed them with simple clear mailing labels in a matching font and sent them on their merry little way! Overall, I am extremely happy with how these came out and proud of my very first DIY wedding project. Check out the breakdown below: For 90 Save the DatesA2 Paper Bag Envelope - $0.32/pp from Paper Source A2 Paper Bag Postcard - $0.14/pp from Paper Source Baby Photos - $0.52 for one of each of us from Prinstagram Wrapping Paper Liner - $3.79/roll from The Paper Store Twine - $10 for a 2-pound spool (I swear, this spool will outlive me) online from WeSellCoffee (and apparently twine?) Return Address Stamp - $25.95 from Paper Source Postage - $0.46 from USPS, duh. Total per STD: about $1.48 each! How do you like them apples?
|
 RSS Feed